Vegetarian Bulgogi Sandwich with Kimchi Mayo in GF Choux Baguette { gf, vegetarian, easy vegan option }
I made a lip-smacking, finger-licking, killer sandwich!
I borrowed the flavors of Korean bulgogi to create this meatless version featuring that quintessential combo of soy sauce, garlic, sesame oil and ginger. Instead of marinaded meat, I've used the bulgogi sauce on tofu and loads of mushrooms, two ingredients that soak up all that tastiness.
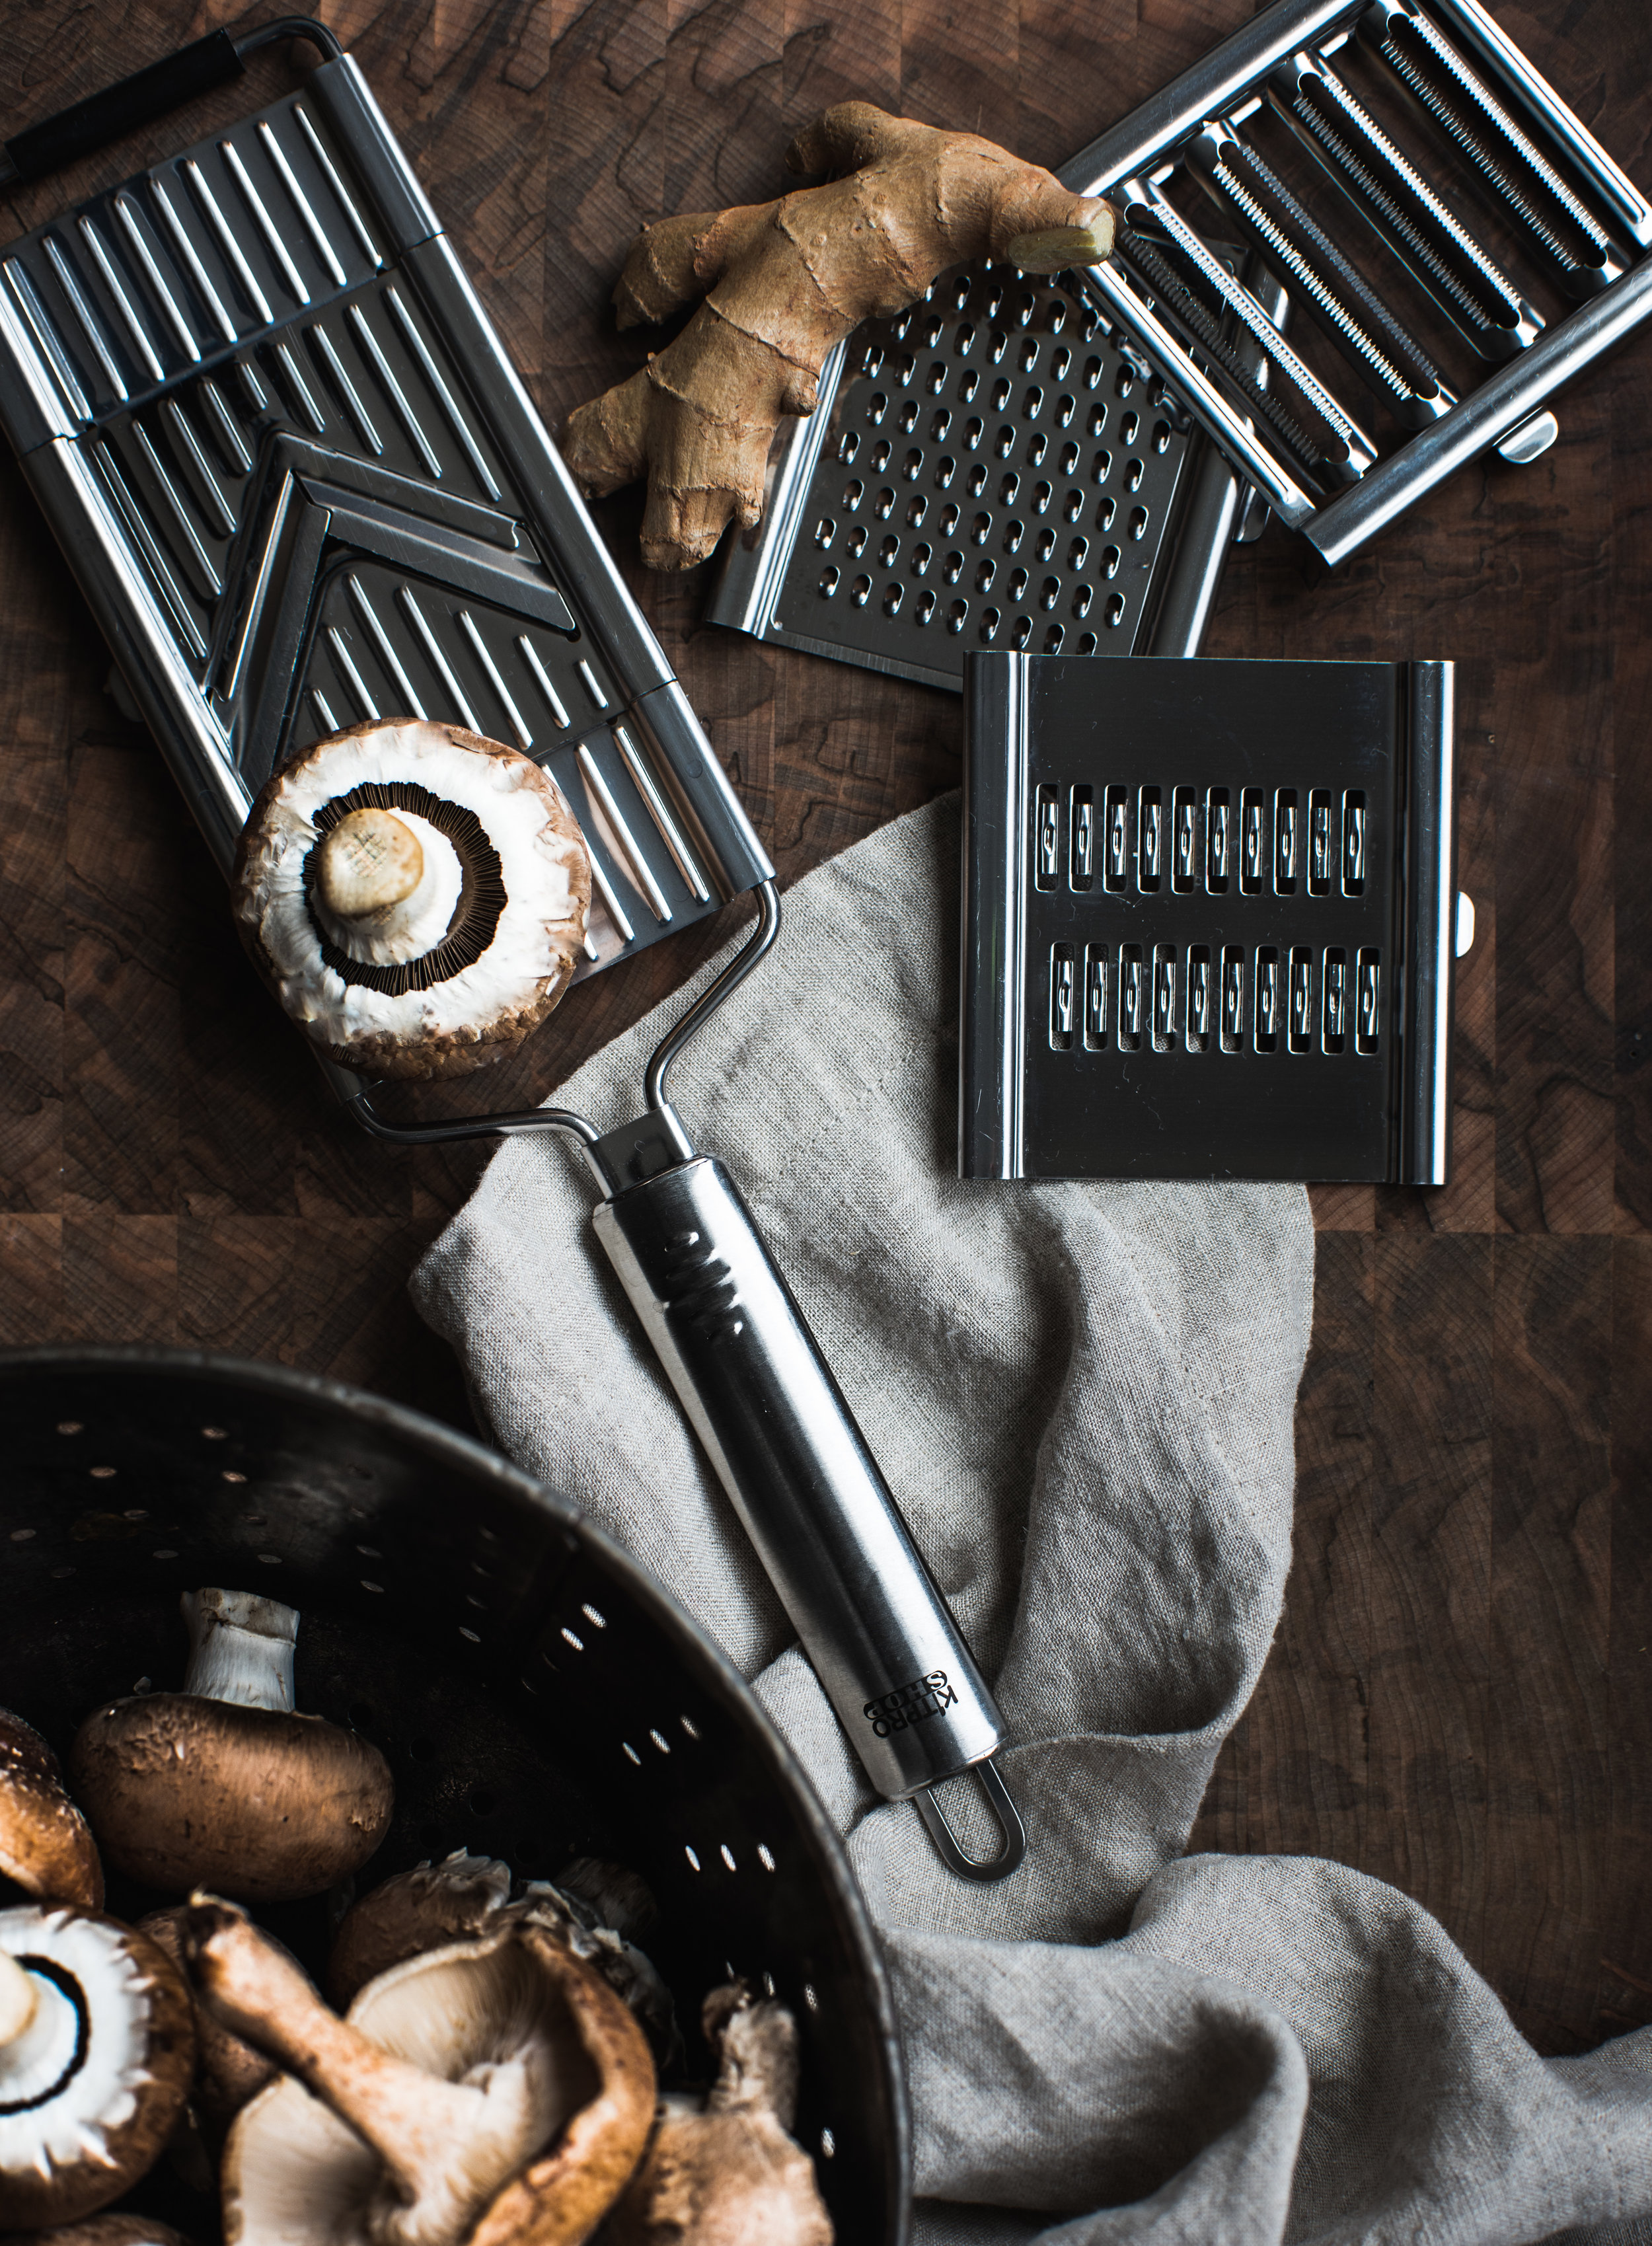
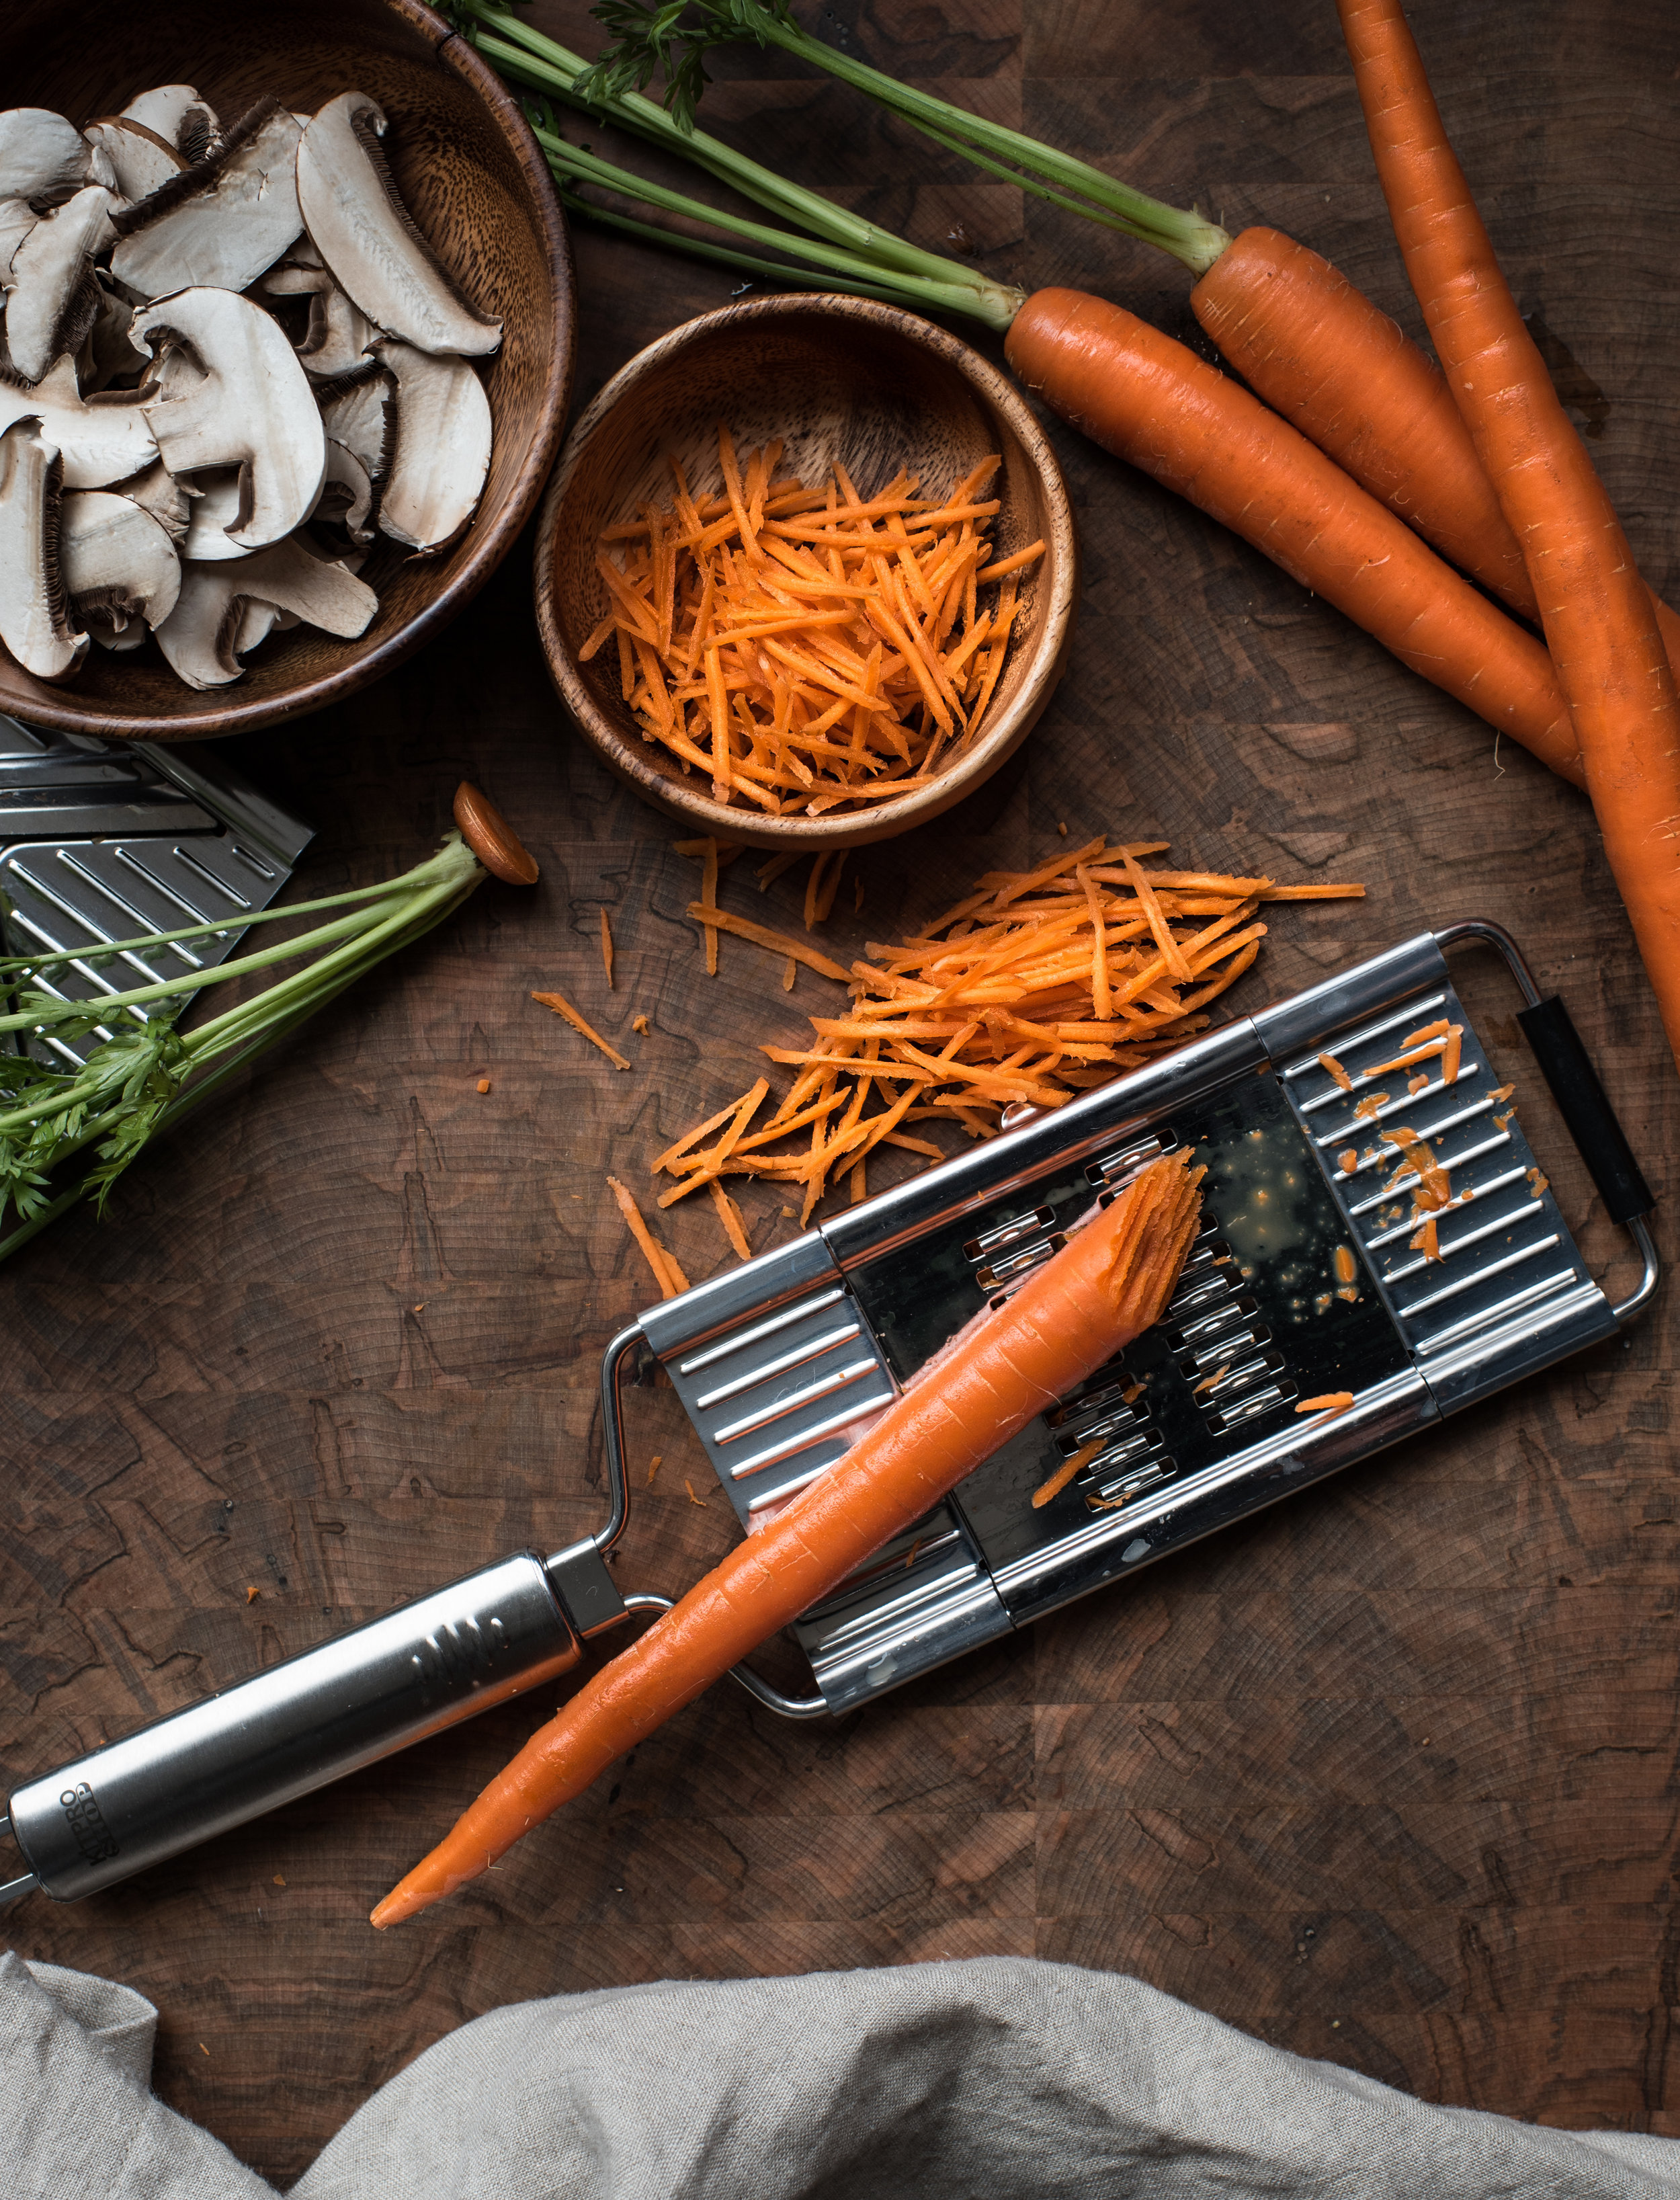
By the way, thanks to KitProShop's Deluxe Mandoline Grater / Slicer, I thin-sliced my way through 3/4 lb of cremini mushrooms using the slicer attachment in record time. The mandoline also comes with 3 other attachments (pictured below left). I'm particularly enamored with the julienne attachment! See my julienne carrots (below right) - so fine and perfect and I was able to do that ultra fast too. I had never see a julienne attachment on a mandoline before and now I wonder why it's not standard issue with other popular mandoline brands? It's amazing.
One other reason I love this tool, that it is constructed completely of quality stainless steel. I've been consciously replacing all of my plastics and non-stick wares in the kitchen over the last 3 years in favor of safer materials like stainless steel, glass, silicon, cast iron and wood. Before this I had never seen a mandolin not made of plastic, even the pricier ones.
Even though not every item on KitProShop is plastic-free (their 'comfort grip' line with thermalplastic handles is very popular), they have an impressive range of all stainless steel tools. I mean, check out this funnel! I love it so much and use it for my homemade coffee creamer every week. My funnel was one of the harder ones for me to find plastic-free. Whether you feel the same way about plastics or not, have a look at their site. They have some unique items not easily found elsewhere - case in point being this mandoline set and funnel I've just been raving about. Currently there is a free gift with purchase on their site until the end of June 2018 (minimum purchase $15), if you want to take advantage of that.
But enough tool talk. Back to sandwich talk please!
Specifically, let us talk about this gluten-free baguette made using choux pastry. This means no yeast or rising or anything. And I made it gluten-free! Aaand it is LEGIT.
It's pretty fool-proof too because it doesn't need to puff up super high as you need for cream puffs and such - we pipe out two fairly large 12" x 3" shapes each one to act as one side of a split-open baguette. It is crispy on the outside while soft and bread-y on the inside. My husband said it is better than any gluten-free bread he has ever tasted!
Okay but real talk, even if you don't have time to make the choux baguette, you can still make this using your favorite baguette or bread or bun of choice. A vegan bread would make this an entirely vegan sandwich too, by the way.
The tofu and mushrooms are super quick to prepare. The bulgogi and kimchi mayo are a matter of whisking ingredients together. If you make the choux baguette ahead of time (tip: you can freeze then reheat directly from freezer to oven) or you buy your bread (whichever you can manage!), this makes a fantastic quickie meal for Meatless Monday or Meatless ANYday.
I can't contain my excitement over this sandwich! It is so tasty! I really hope you try it.
xx
MAKE IN ADVANCE:
Choux Baguette can be frozen after cooling completely, in an airtight ziptop bag. To use, heat it up in 350f oven until warm ~15 minutes.
Both the Bulgogi Sauce and Kimchi Mayo can be made a day or two in advance and stored covered in the fridge until ready to use.
Vegetarian Bulgogi Sandwich with Kimchi Mayo in a Gluten-Free Choux Baguette
{ gluten-free, vegetarian, easy vegan option }
Makes one 12" x 3" sandwich, which should feed 3-4 people.
INGREDIENTS
For the Bulgogi Sauce:
1/4 C tamari
1/4 C honey
1 tbsp pure sesame oil
3 cloves of garlic, fine-minced or grated
1 tsp peeled ginger, fine-minced or grated
For the Kimchi Mayo:
1/2 C vegan mayonnaise (I use Vegenaise)
1/2 C finely-chopped kimchi squeezed of excess juices
2 tbsp kimchi brine
1 tsp honey
1 tsp rice vinegar
about 3/4 tsp kosher salt or to taste
For the Sandwich Fillings:
1 block (~350g) firm or extra-firm organic tofu, cut lengthwise into 1/8" slices
1 lb (454g) mushrooms, cremini or button, plus some fresh shiitake or beech if you have
1 small carrot, peeled and julienned
Leafy green lettuce, trimmed washed and dried
~~~~~
For the Choux Baguette (Skip if buying your bread &/or swapping for vegan bread for vegan sandwich):
1/2 C or 1 stick (4oz or 113g) organic grass-fed butter
1/2 C (4 fl.oz) water
1/2 C (4 fl.oz) organic unsweetened almond milk or other non-dairy milk
1/4 tsp kosher salt
1 C (4.5oz or 130g) gluten-free flour blend (I used Bob's Red Mill Gluten-Free 1 to 1 Baking Flour)
1/4 tsp xanthan gum *ONLY IF gluten-free flour blend above does NOT already contain xanthan gum*
8oz or 227g eggs (approx 4-5 large eggs but measure out by weight if you can) plus 1 more egg for egg wash (whisked with a pinch of salt added)
Coarse salt (~2 tsp) and sesame seeds (about 2 tbsp) for sprinkling
~~~~~
METHOD
For the Bulgogi Sauce:
Whisk all the ingredients together. Voila. Tastiest bulgogi sauce!
For the Kimchi Mayo:
Mix all the ingredients together. Again, so easy. Keep refrigerated until ready to use.
For the Oven-Baked Bulgogi Tofu and Sautéed Mushrooms:
Preheat oven to 400f.
Slice the cremini or white button mushrooms thinly with a mandolin. If using, trim fresh shiitakes and beech of their woody stems and slice thin with a knife. Heat a cast iron skillet on medium heat.
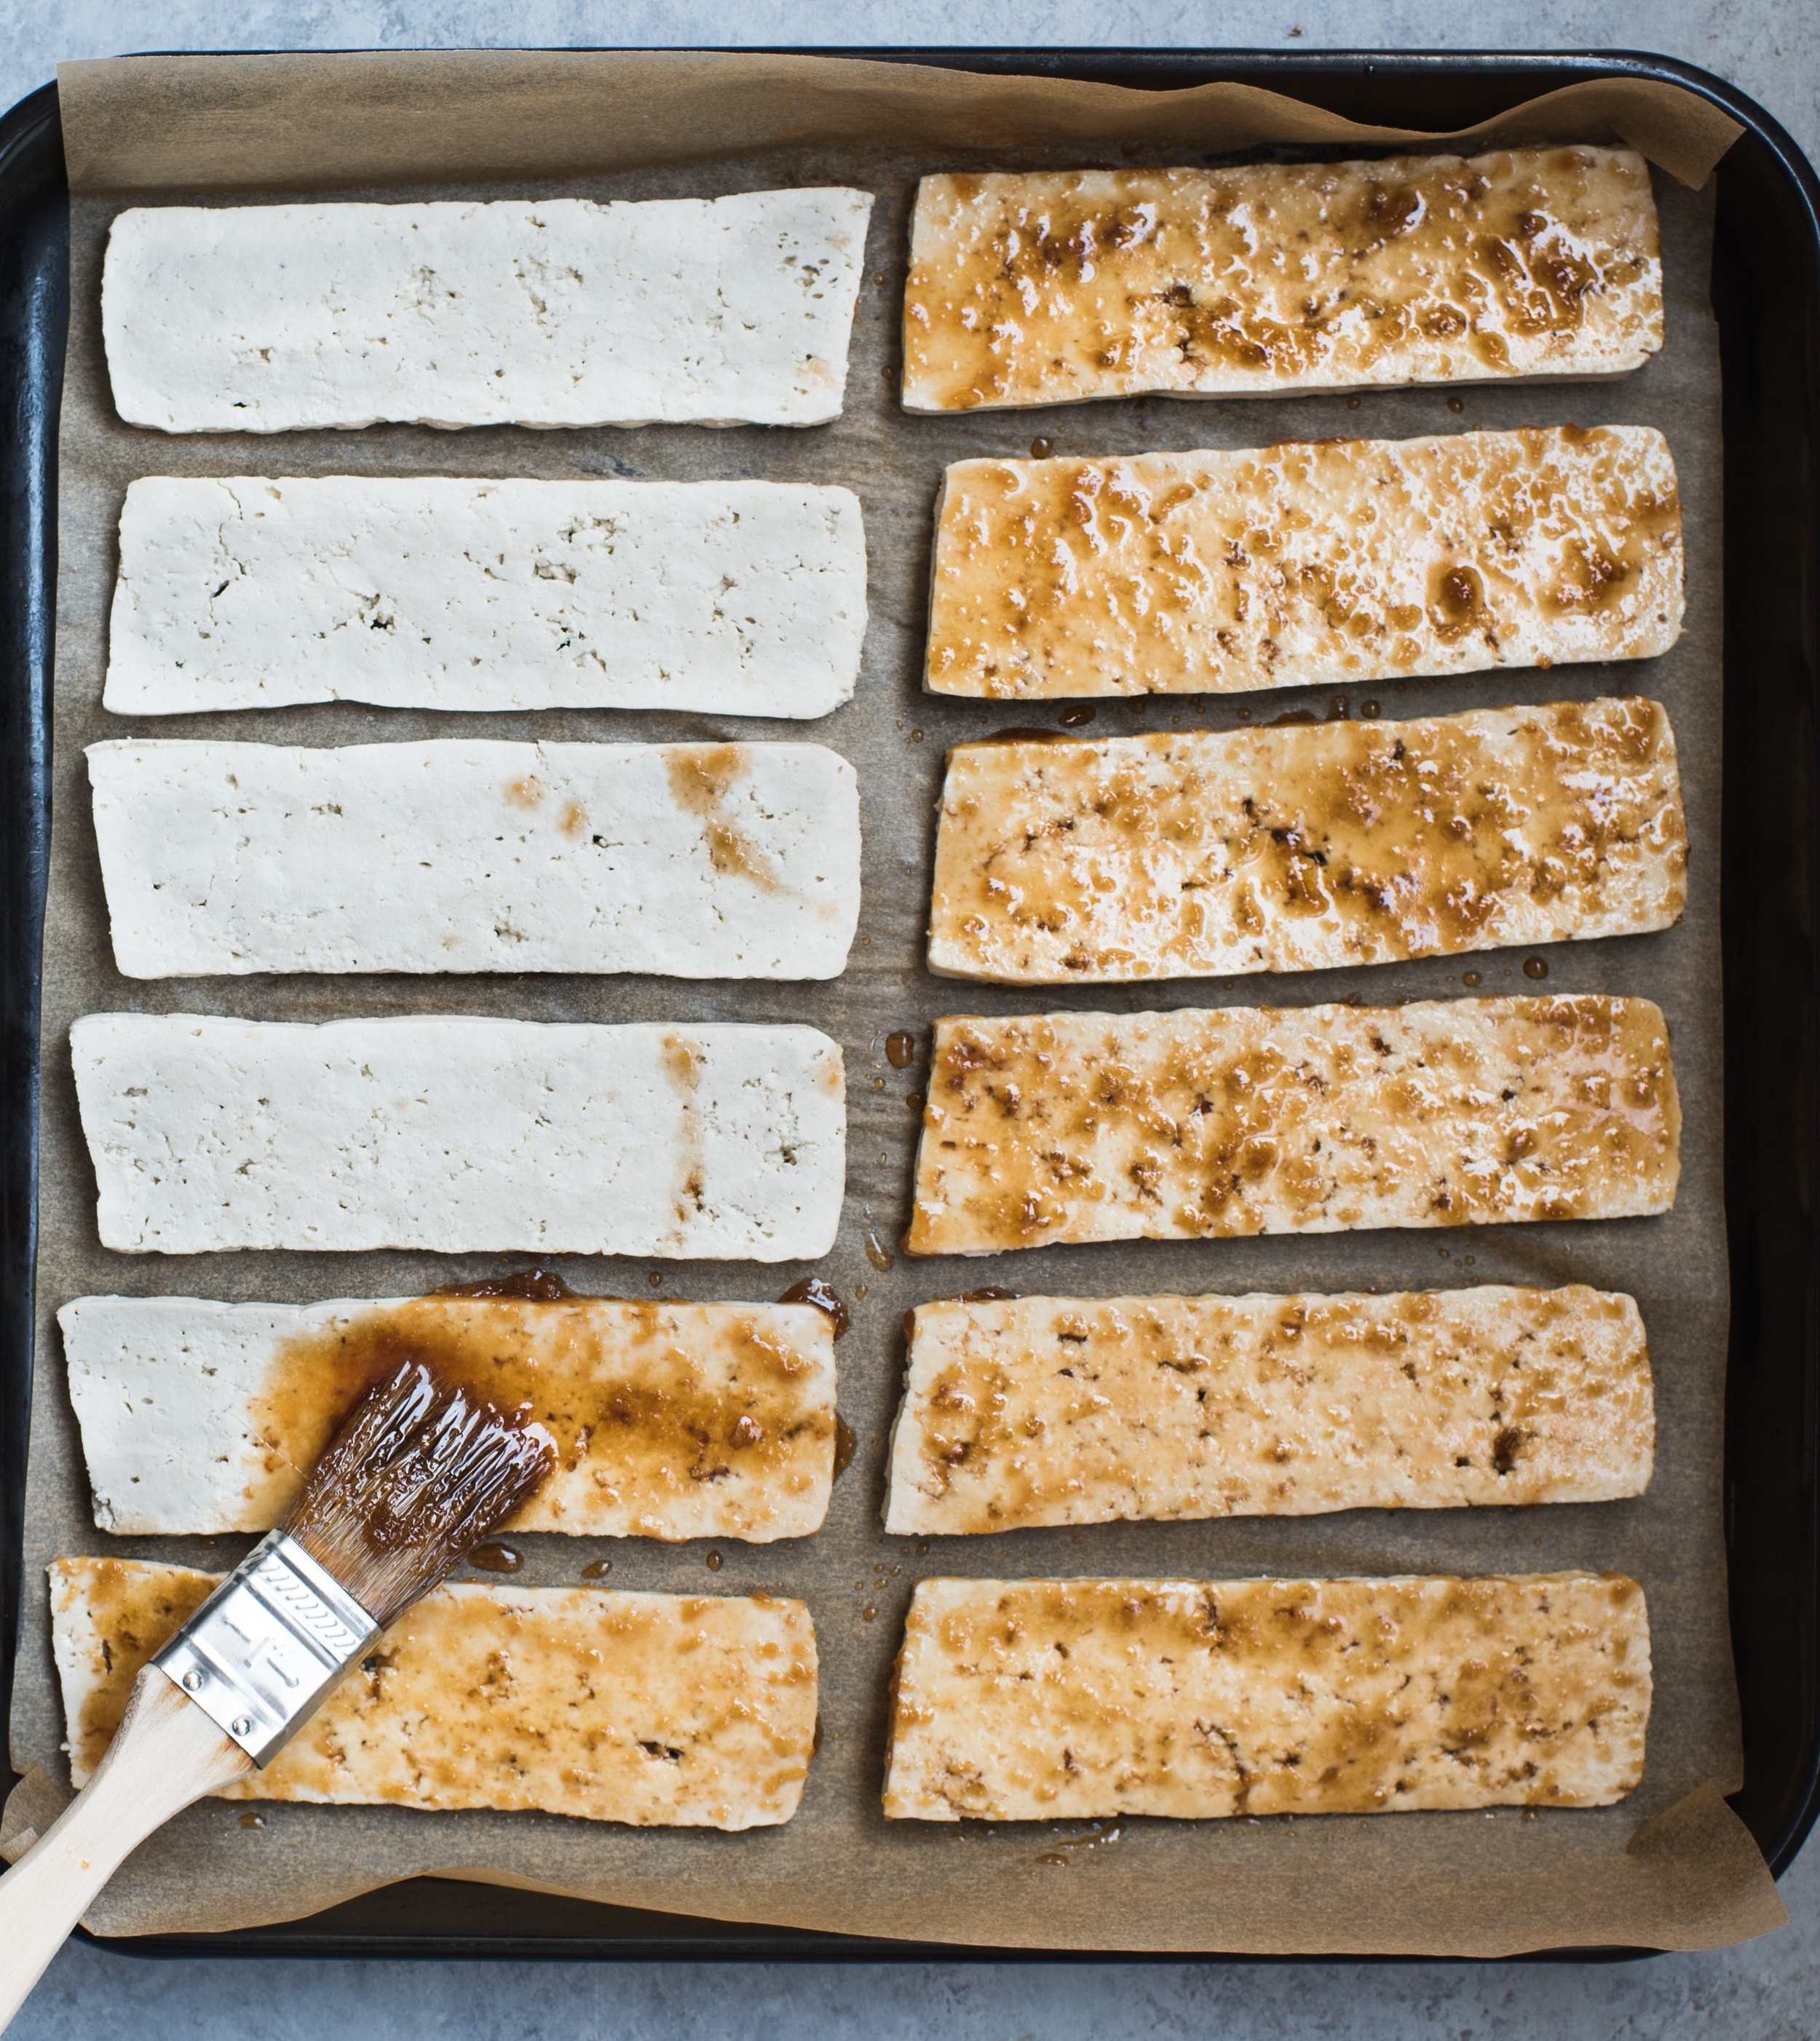
While the skillet heats up, back to the tofu. Place tofu slices on a parchment-lined baking sheet. Brush the top sides generously with bulgogi sauce. Bake for 10 minutes. Flip and brush the other side with bulgogi sauce. Bake for another 10 minutes. Total bake time 20 minutes.
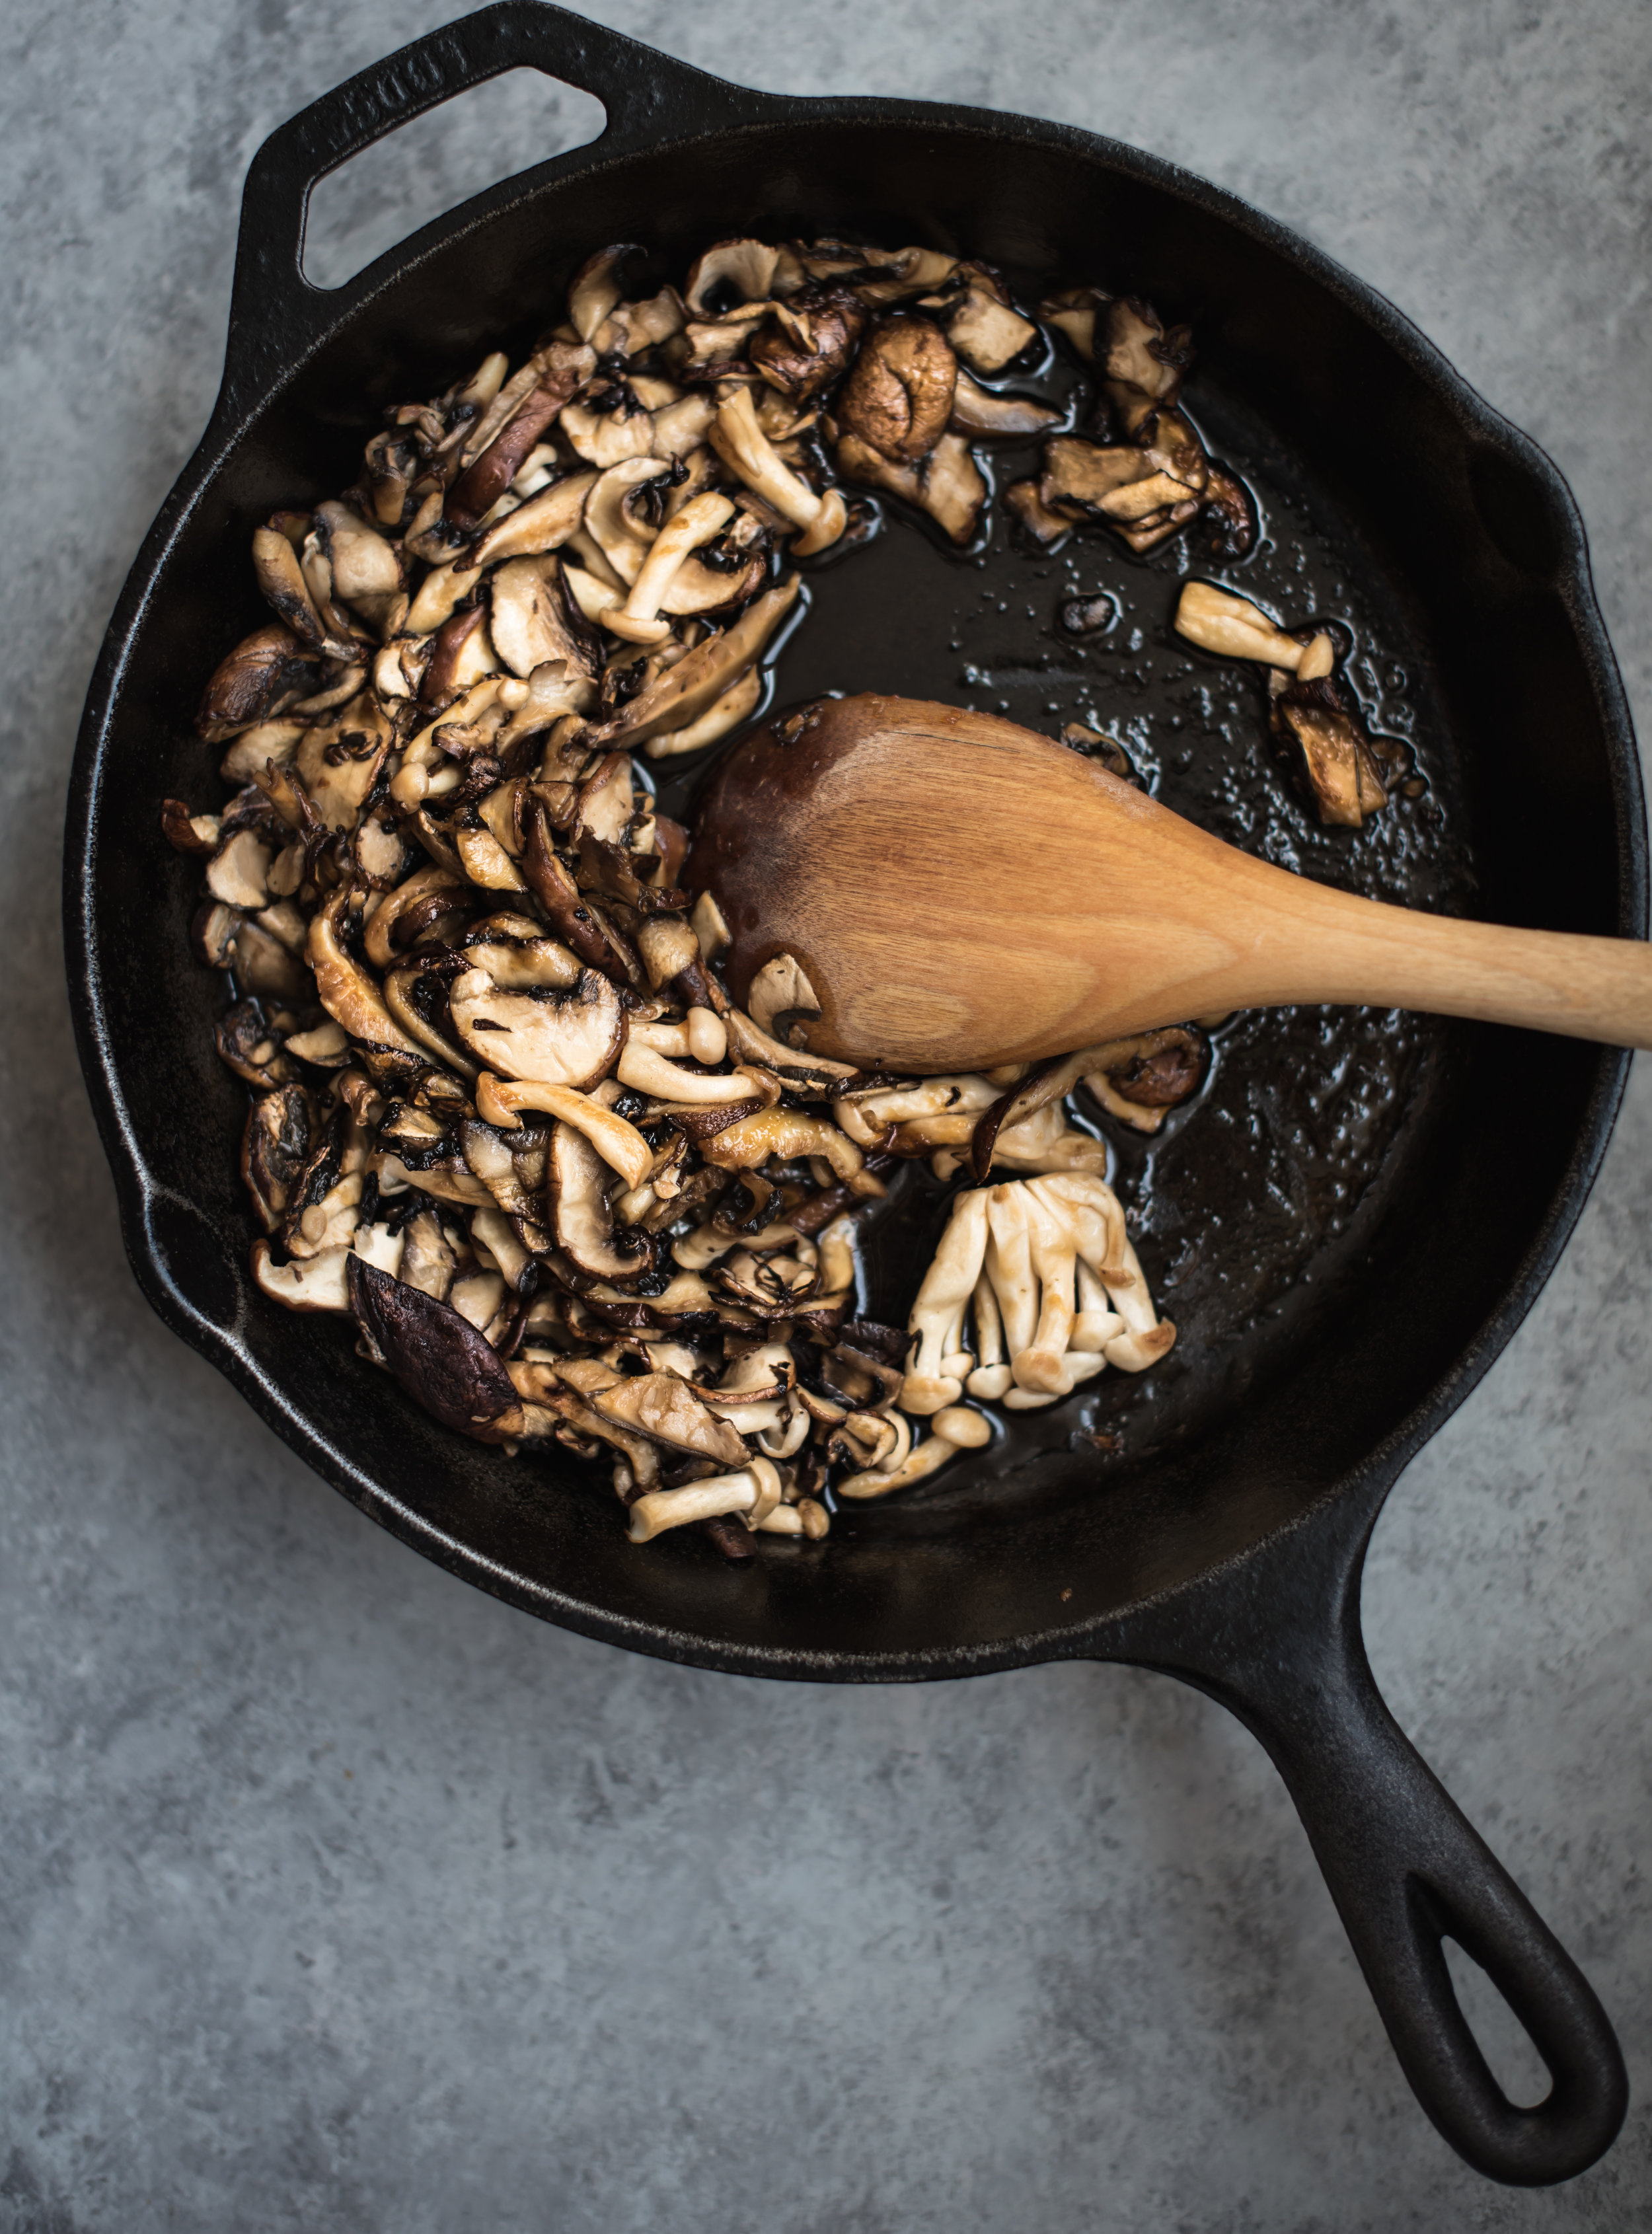
While tofu is baking, saute the mushrooms. Pro tip: if you want nice browned mushrooms not soggy mushrooms, cook them in batches as needed so as not to overcrowd the pan and never ever salt them until the end because salt will draw out their moisture resulting in steamed (sad) mushrooms.
Drizzle with 1 tsp oil and saute mushrooms for 2-3 minutes or until browned. After all batches are browned, put them all back into the skillet and stir in the remaining bulgogi sauce. Turn heat down to low and let the sauce cook with the mushrooms for 30-60 seconds more.
For Sandwich Assembly:
Toast the choux baguette halves in a toaster oven or oven to get a nice warm crispy bread (optional but highly recommend). Place one baguette half on cutting board, sesame seed side down. Generously spread kimchi mayo all over. Layer lots of leafy green lettuces - I do it so the lettuce curves upwards to act as a little curved "dish" (am I making sense?) to hold the bulgogi tofu and mushrooms next. Top with julienned carrots and set top side of baguette on top. Cut crosswise into 4 large sandwiches. Enjoy warm! So good!
~~~~~
If you are making the choux baguette for the sandwich, the recipe is provided below. My husband says it's better than any gluten-free bread he has ever had!
For the Choux Baguette (Skip this section if buying your bread or swapping in vegan bread):
Preheat oven to 425f. Line a large baking sheet with parchment paper.
If your gluten-free flour mix does not already contain xanthan gum (check the label), whisk it into your flour now. I used Bob's Red Mill Gluten-Free 1 to 1 Baking Flour which already contains it so I skip this step.
Heat butter, water, almond milk and salt in a medium pot over medium heat. Once it comes to a boil, take it off heat and immediately dump in the gluten-free flour, beating with a wooden spoon until combined and a dough begins to form and pull away from the side of the pot. Put the pot back on medium heat and cook the choux dough for a few minutes, sitrring with the wooden spoon. When the dough is thick enough for a metal spoon to stand straight up in it, you can stop and remove from heat.
Put the dough in a stand mixer and beat it with the paddle attachment at low speed for a few minutes to cool the dough down and release the steam.
Next, we add eggs one at a time. For best results, you should measure out your eggs by weight since even "large eggs" varies in size. For choux pastry like this, even 1/2 tsp more or less of egg can cause the dough to go from perfect to too runny or too thick. Whether you have a kitchen scale or not, you will need to use your judgement regardless because ultimately the amount of steam evaporated from the dough also affects how much eggs is needed for the right consistency. Just don't blindly put in all 4-5 eggs okay?
Beat in the first 3 eggs, one at a time on medium speed of stand mixer, allowing each to be completely incorporated before continuing with the next. Scrape down sides of the bowl as needed. After 3 eggs, turn the mixer up to high and beat until the dough smooths out, about a minute. Then, lightly whisk the 4th egg and start beating it in bit by bit and check consistency. The dough should be thick (not runny), a little sticky but still pliable and pipeable when put into a piping bag later. If after the 4th egg, the dough is still too thick, whisk the 5th egg and again, add bit by bit while beating until you achieve the right dough consistency.
Put in just the coupler into the piping bag (i.e. no piping tip) or simply snip the tip of the bag into a ~1/2" opening. Use a spatula to scrape the dough into the bag - do this in two batches if you can't fit all the dough at once, half the dough for each side of the baguette. First schmear a small dot of dough on the underside of all four corners of the parchment paper to keep it down during baking. Aim to pipe two equal baguette halves side by side at least 3" space apart, pipe a 12" long strip of dough along one side of the parchment. Pipe another strip next to the first to double the thickness - approximately 3" wide. Pipe a third strip of dough on top, along the seam of the bottom two strips. Use fingers dipped in water to gently smooth out lumps as needed. Do this again for the second baguette half. Use a soft pastry brush to brush on the egg wash. Sprinkle with coarse salt and sesame seeds.
Bake in the oven for 13-15 minutes, when the dough has just started to puff. Turn the oven down to 350f and continue baking for 18-20 minutes. Turn off oven and allow to cool for one hour to properly dry out the insides. Once fully cooled, these can be stored tightly-wrapped in the freezer. Warm directly from freezer in 350f oven for 12-15 minutes or til warm and crispy.
~~~~~
If you like this recipe, pin it to Pinterest! If you try this recipe, let me know! Or leave me a comment below to let me know what you think of this post - I would love that. :)
This post was sponsored by KitProShop. All opinions are my own. Thank you for supporting the brands that enable me to create new content for this site!






Hi, I’m Sonia
I share recipes inspired by my food cravings and what I make for my family. My role as a working mom of two girls, my life in Toronto Canada and my background as a Chinese immigrant from Hong Kong all inform the things I love, crave and create. This means an emphasis on wholesome recipes that are approachable for busy weeknights and fun recipes to make on weekends and for friends!
homemade food to nourish and indulge …
More about Sonia >